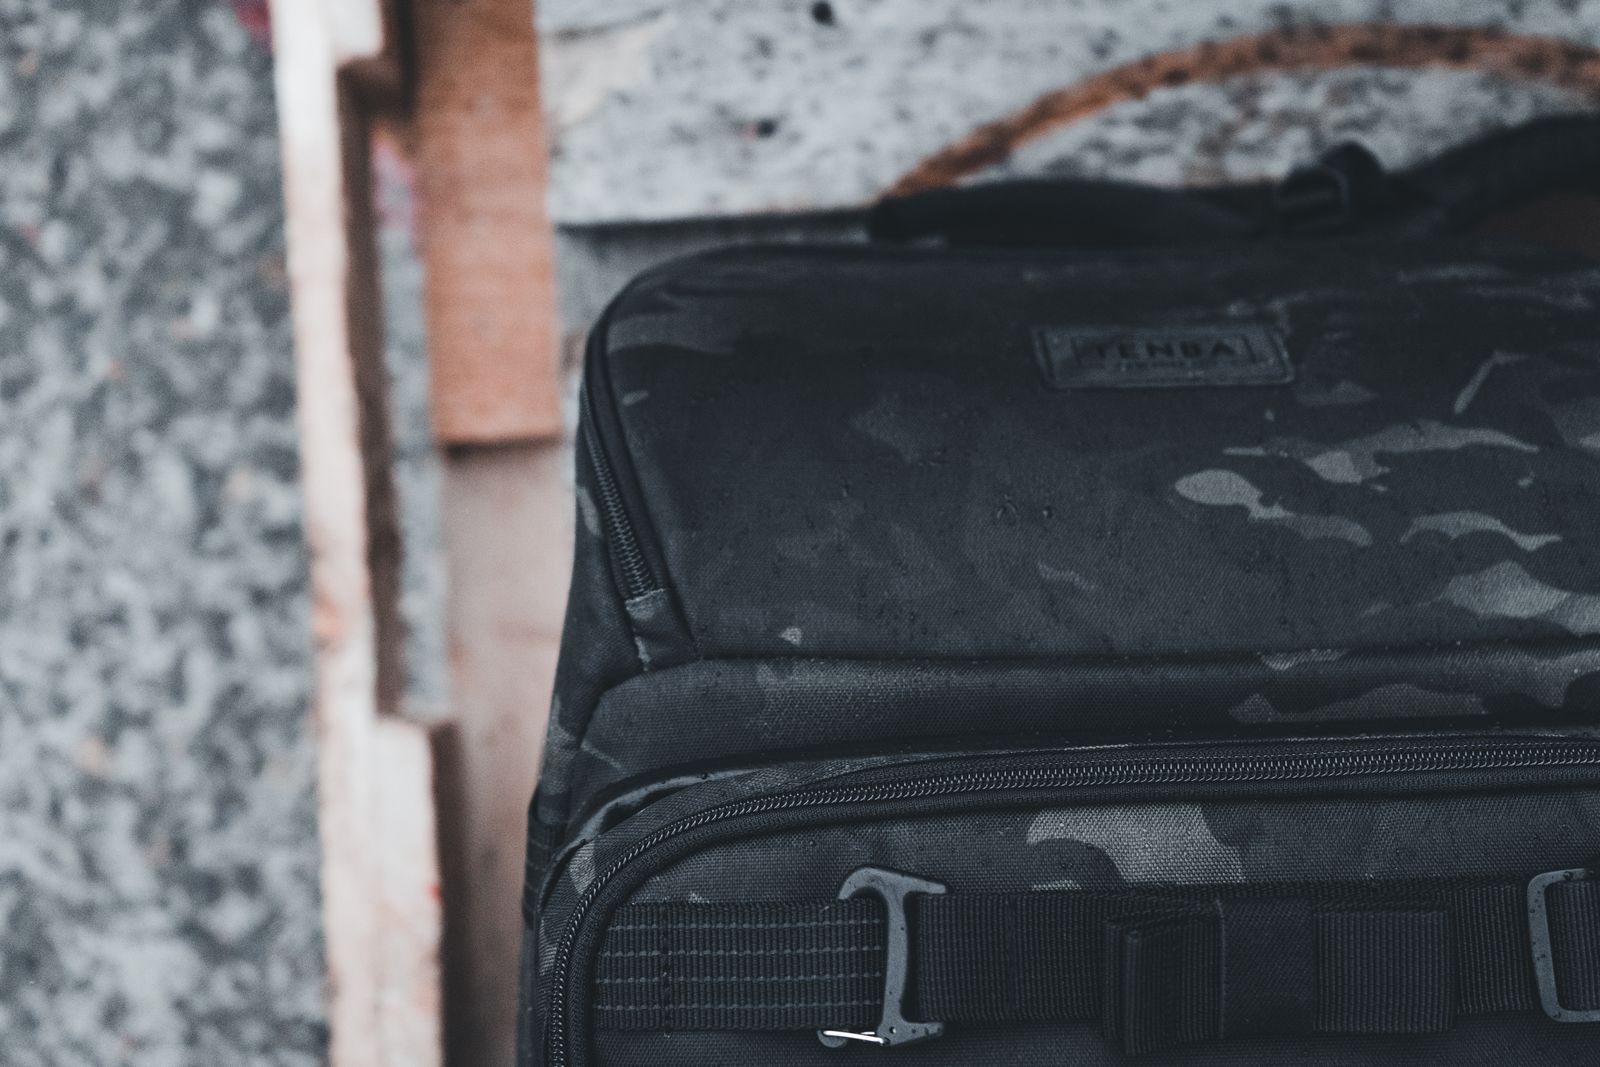
How to Reduce Backpack Shoulder Strain: 40L Ergonomics & Packing Blueprint
Should you tighten your straps or repack your laptop when your 40L backpack burns your shoulders? Do both immediately: move dense gear like your 17-inch laptop into the rear compartment flush against your back, raise the pack until the bottom aligns with your lumbar curve, and engage the sternum strap to pull shoulder pads inward off your joints.
Shoulder Strain Troubleshooting Matrix
- Where are you experiencing acute carry fatigue or pain? → Yes: If Trapezius/Upper Shoulder: Go to Node A. If Collarbone/Chest Pinching: Go to Node B. If Lower Back Pull: Go to Node C.. No: Re-check overall pack weight against 15-20% body weight guidelines..
- Node A (Trapezius Burning): Is the pack hanging low or sagging past your beltline? → Yes: Action: Tighten shoulder webbing tails until the pack base lifts to your lumbar curve and engage sternum slider 1 inch below collarbone.. No: Action: Check internal packing. Shift heavy laptop and dense items from outer pockets to the rear back-panel sleeve..
- Node B (Collarbone Pinching): Is the sternum strap pulled overly tight or shoulder pads rolling outward? → Yes: Action: Adjust sternum strap height down toward the mid-sternum and loosen tension slightly to equalize pressure across the pectoral wall.. No: Action: Verify shoulder strap foam width matches your neck width; widen strap origin spacing if needed..
- Node C (Lower Back Pull / Forward Pitch): Are heavy packing cubes loaded near the front zipper? → Yes: Action: Unzip clamshell 180 degrees. Re-pack heavy items along the rear spine axis and place light jackets near the outer flap.. No: Action: Raise harness height to eliminate excessive torque leverage pulling your shoulders backward..
Root Causes & Quick Fixes for Common Carry Pain
Photo by Julia Filirovska on Pexels
| Symptom / Failure Mode | Mechanical Cause | Immediate Adjustment | Long-Term Solution |
| --- | --- | --- | --- |
| Burning pain top of trapezius muscles | Pack sagging below lumbar curve, creating intense backward leverage on upper shoulders | Pull lower webbing tails down and back until bag sits flush against upper back | Maintain shoulder strap anchor points 1-2 inches below C7 vertebra when fully loaded |
| Pinching at acromion joint / outer shoulder edge | Shoulder straps rolling outward due to missing or unengaged sternum support | Buckle sternum strap and cinch until pads lie flat across chest muscle center | Choose S-curve ergonomic shoulder pads that follow natural torso contour |
| Forward neck pitch & thoracic spine strain | Heavy 17-inch laptop or dense gear packed in outer quick-access pockets far from spine | Move tech and shoes immediately into the rear back-panel compartment | Adopt the 3-Zone Spine-Centric Packing Blueprint for every multi-day trip |
| Sharp collarbone dig / nerve compression | Sternum strap set too high near throat or cinched with excessive force | Slide sternum rail down to 1 inch below collarbone level and loosen tension slightly | Ensure chest strap height adjustment offers at least 4 inches of vertical travel |
When navigating airport terminals or city streets, specific pain symptoms indicate distinct harness calibration errors or internal load distribution failures. Address these failure modes directly.
Pro Tip: The Clamshell Lever Arm Rule
In biomechanics, load distance from the pivot point (your spine) acts as a force multiplier. If you store a 5-pound laptop in the outermost pocket of a 9-inch-deep 40L backpack instead of the dedicated rear compartment against your back panel, that 5-pound mass exerts over 14 pounds of effective rotational torque on your shoulder joints. Always pack your heaviest dense gear closest to your body's natural center of gravity.
The 60-Second Pre-Transit Harness Calibration Checklist
- Loosen shoulder strap webbing completely before donning the loaded 40L pack.
- Put the pack on both shoulders—never single-shoulder carry a fully loaded 40L bag.
- Pull shoulder strap tail webbing downward until the back panel hugs your shoulder blades without sagging.
- Connect the sternum strap and slide the height adjuster to roughly 1 inch below your collarbone.
- Tighten the sternum strap just enough to relieve outer shoulder edge tension without restricting breathing.
- Verify your 17-inch laptop and dense gear are flush against the back panel rear sleeve.
The Ergonomic 40L Packing Blueprint
To prevent backward leverage and shoulder strain, internal weight must be arranged into three distinct biomechanical zones relative to your back panel.
Mid-Transit Relief Decision Tree
- Are you stationary at an airport gate, train platform, or check-in line? → Yes: Slide the rear luggage pass-through strap over a rolling carry-on handle to give your trapezius muscles a total 100% rest interval.. No: Evaluate active walking adjustments below.
- Are you actively walking long terminal distances with shoulder burning? → Yes: Unclip sternum strap momentarily, shrug shoulders upward 3 times to restore blood flow, re-clip sternum strap 1 inch lower, and tighten shoulder webbing tails 0.5 inches.. No: Maintain current harness setting.
Core Biomechanical Carry Principles
- Minimize Leverage Distance: Dense tech (like 17-inch laptops) belongs in the dedicated rear sleeve directly against the back panel, never in front outer pockets.
- Maintain High Center of Gravity: Keep heavy mass centered between your shoulder blades and lumbar curve to prevent backward rotational pull.
- Stabilize Strap Angle: Use an adjustable sternum strap to keep shoulder pads flat on chest muscles and prevent outer acromion joint pinching.
Ergonomic Feature Checklist: What to Look for in a 40L Pack
When selecting a one-bag travel backpack engineered for zero-strain transit, ensure it integrates these crucial ergonomic construction standards:
- Dedicated Rear Tech Sleeve: Fits up to a 17-inch laptop directly against the spine to eliminate rotational torque.
- Suitcase-Style 180° Clamshell: Enables precise placement of heavy packing cubes flush against the back panel.
- Padded S-Curve Harness & Breathable Back Panel: Distributes load evenly while preventing heat accumulation during long urban walks.
- Integrated Luggage Pass-Through Strap: Allows instant mounting onto luggage handles for static airport layover relief.
Correct vs. Incorrect Weight Distribution in Clamshell Packs
| Packing Parameter | Incorrect (Leverage Heavy) | Correct (Spine-Centric) |
| --- | --- | --- |
| Laptop Placement | Front slash pocket or outer organizer zipper | Dedicated rear padded sleeve against back panel |
| Packing Cubes & Gear Mass | Stacked randomly away from back panel | Packed tightly along the bottom & back panel axis |
| Outer Flap Storage | Heavy toiletries, cables, shoes, chargers | Light rain jacket, socks, soft clothing items |
| Effective Torque on Traps | High (multiplier effect pulling shoulders back) | Low (axial compression straight down through center) |
| Resulting Torso Posture | Forward neck leaning, rounded shoulders | Upright, neutral spine alignment |
Compare how packing decisions directly impact physics, leverage, and muscle fatigue on your body.
Choosing the Right Strap & Harness Adjustments for Your Frame
Photo by Erik Mclean on Pexels
To eliminate shoulder strain in a 40L one-bag setup, prioritize packs with rear-oriented laptop sleeves, breathable back panels, sternum straps, and luggage pass-throughs, while keeping heavy items glued to the spinal column.
Best choice for
- Spine-Centric Packing + Sternum Strap Engagement — Transfers rotational torque into axial compression, keeping the load centered over the body's natural center of gravity.
- Luggage Pass-Through Offloading — Allows total shoulder recovery by mounting the pack onto rolling luggage handles during static waiting periods.
- Avoid packing heavy tech or shoes in the front quick-access pockets away from your spine.
- Avoid wearing shoulder straps so loose that the pack sag rests below the lumbar curve.
- Luggage Pass-Through Mounting — When shoulders require a rest break, slide the integrated back panel strap over a roller bag handle.
Harness Ergonomics Specifications
| Feature / Component | Ergonomic Standard | Lefame 40L Spec | Biomechanical Benefit |
| --- | --- | --- | --- |
| Main Compartment Access | 180 Degree Full Clamshell Open | Suitcase-Style 180° Opening | Enables precise heavy-item placement against back panel |
| Laptop Compartment Position | Rear-Panel Padded Sleeve | Dedicated Rear Sleeve (Fits 17") | Keeps heaviest tech mass anchored against spine pivot |
| Shoulder Strap Geometry | S-Curve Anatomical Contour | Padded High-Density S-Curve | Bypasses delicate neck nerves & wraps pectoral muscles |
| Back Panel Construction | Channel Ventilation & Lumbar Pad | Breathable Air-Mesh Panel | Reduces sweat accumulation while cushioning spine |
| Transit Offloading Feature | Integrated Trolley Pass-Through | Heavy-Duty Rear Trolley Strap | Transfers 100% of pack weight to rolling luggage |
Understand the technical specifications that separate an ergonomic travel pack from a basic bookbag.
Step-by-Step: How to Pack a 40L Backpack for Zero Shoulder Strain
Follow this 5-step packing protocol whenever loading your 40L travel backpack for maximum carry comfort:
5 Backpack Carry Mistakes That Destroy Your Traps & Neck
Avoid these critical errors that turn a well-designed 40L travel pack into a source of chronic shoulder strain.
Frequently Asked Questions About Backpack Shoulder Strain
Find fast, practical solutions to standard ergonomic carry challenges.
Immediate Post-Adjustment Workflow
Your decision: Identify your pain type and reorganize your 40L pack using the 3-zone spine-centric packing blueprint.
Do this next: Calibrate your harness straps while standing in front of a mirror using the 60-second adjustment sequence.
Related resource: Download the Pre-Flight 60-Second Harness Calibration Checklist (PDF)
Jet Ready Bag (Lefame 40L Travel Backpack with Ergonomic S-Curve Harness & Luggage Pass-Through)
Ready for zero-strain travel? Calibrate your backpack today or explore the ergonomic features of the Jet Ready Bag.
Further Ergonomics & One-Bag Travel Guides
Link readers to related cluster and pillar articles.
Cover photo by Erik Mclean on Pexels.