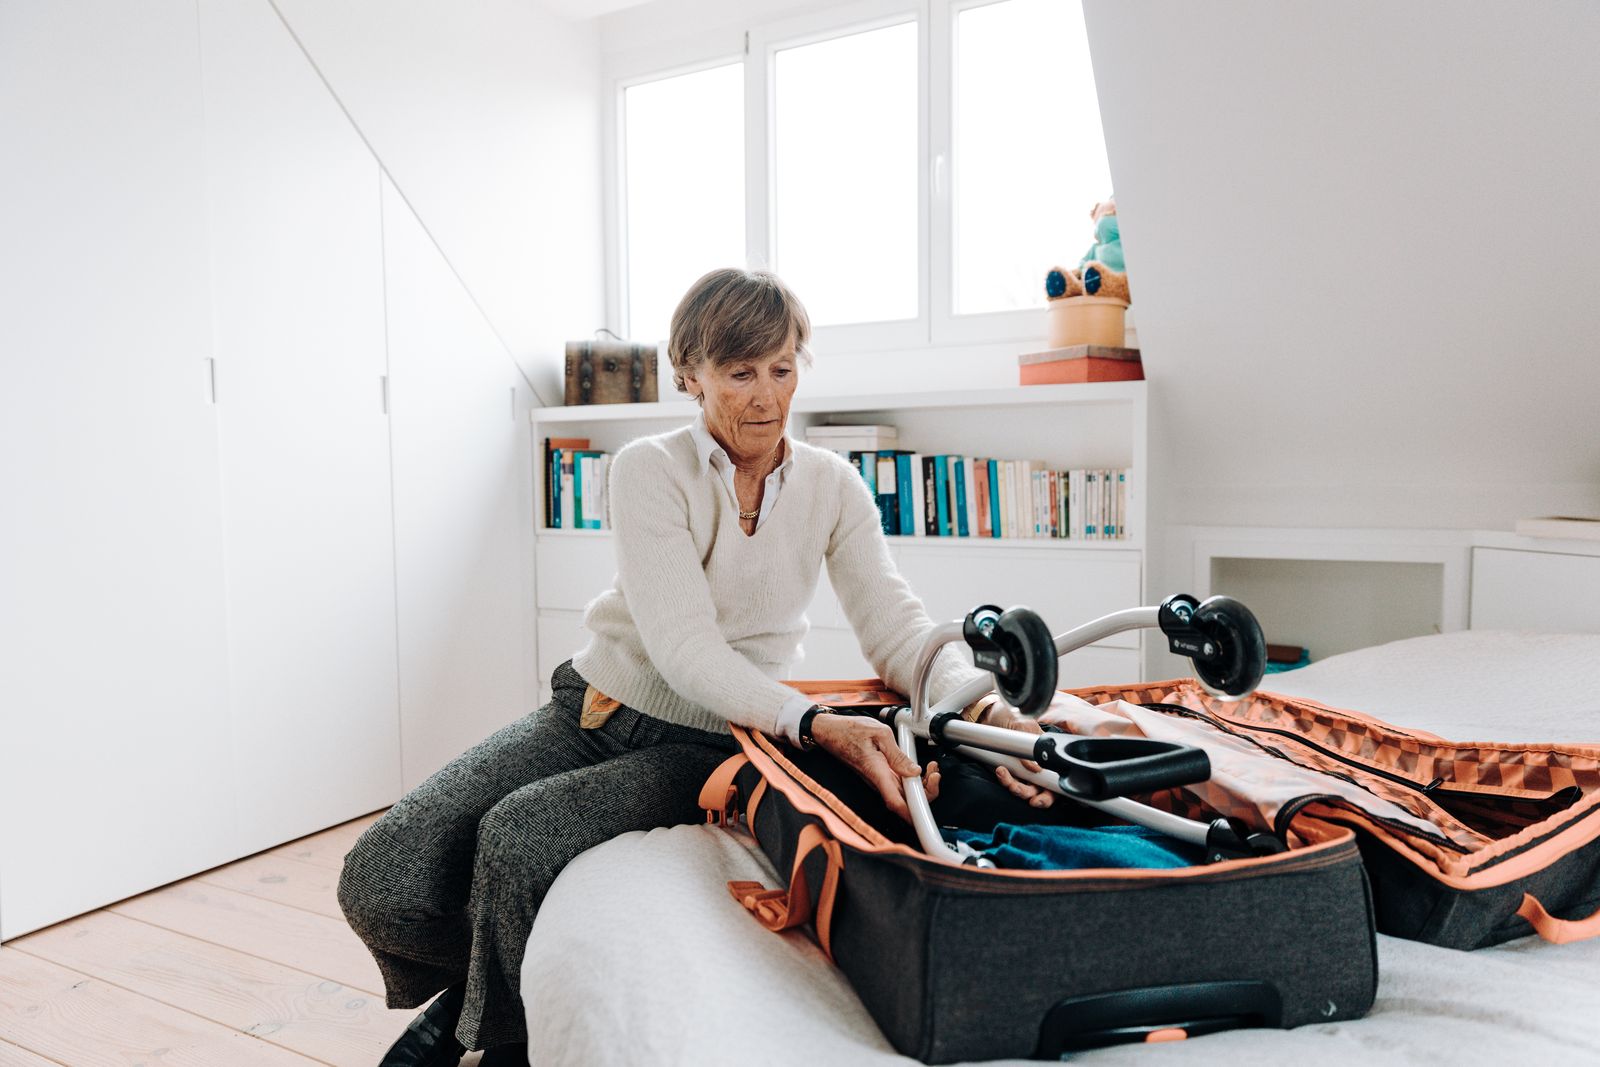
Troubleshooting Clamshell Packing: How to Fix Overpacking, Zipper Strain & Balance Issues
Should you force a stubborn backpack zipper or remove gear when your clamshell pack bulges? Do not force the slider. To immediately resolve zipper strain and backward pull on a 40L clamshell backpack, manually pinch the track coils together ahead of the slider to relieve mechanical tension. Re-architect internal storage by positioning dense items (shoes, toiletry kits, heavy tech) flat against the rear harness panel closest to your spine, reserving outer lid pockets strictly for lightweight, flexible garments.
Zipper Tension Diagnostic Flowchart
- Is the zipper slider stuck or encountering high resistance? → Yes: Check if inner seam lining or pocket fabric is caught in zipper teeth. No: Pack profile is clear; verify overall depth in carry-on sizer.
- Is seam lining caught inside the zipper slider? → Yes: Pull fabric backward gently away from slider while pulling zipper back 0.5 inches. No: Perform manual track pinch test along the curved corner seams.
- Are zipper track coils separated by more than 0.25 inches prior to sliding? → Yes: Volumetric strain present: pinch tracks together by hand and compress internal packing cubes. No: Track alignment issue: check top and bottom panel corner alignment.
Clamshell Packing Failure Modes & Direct Solutions
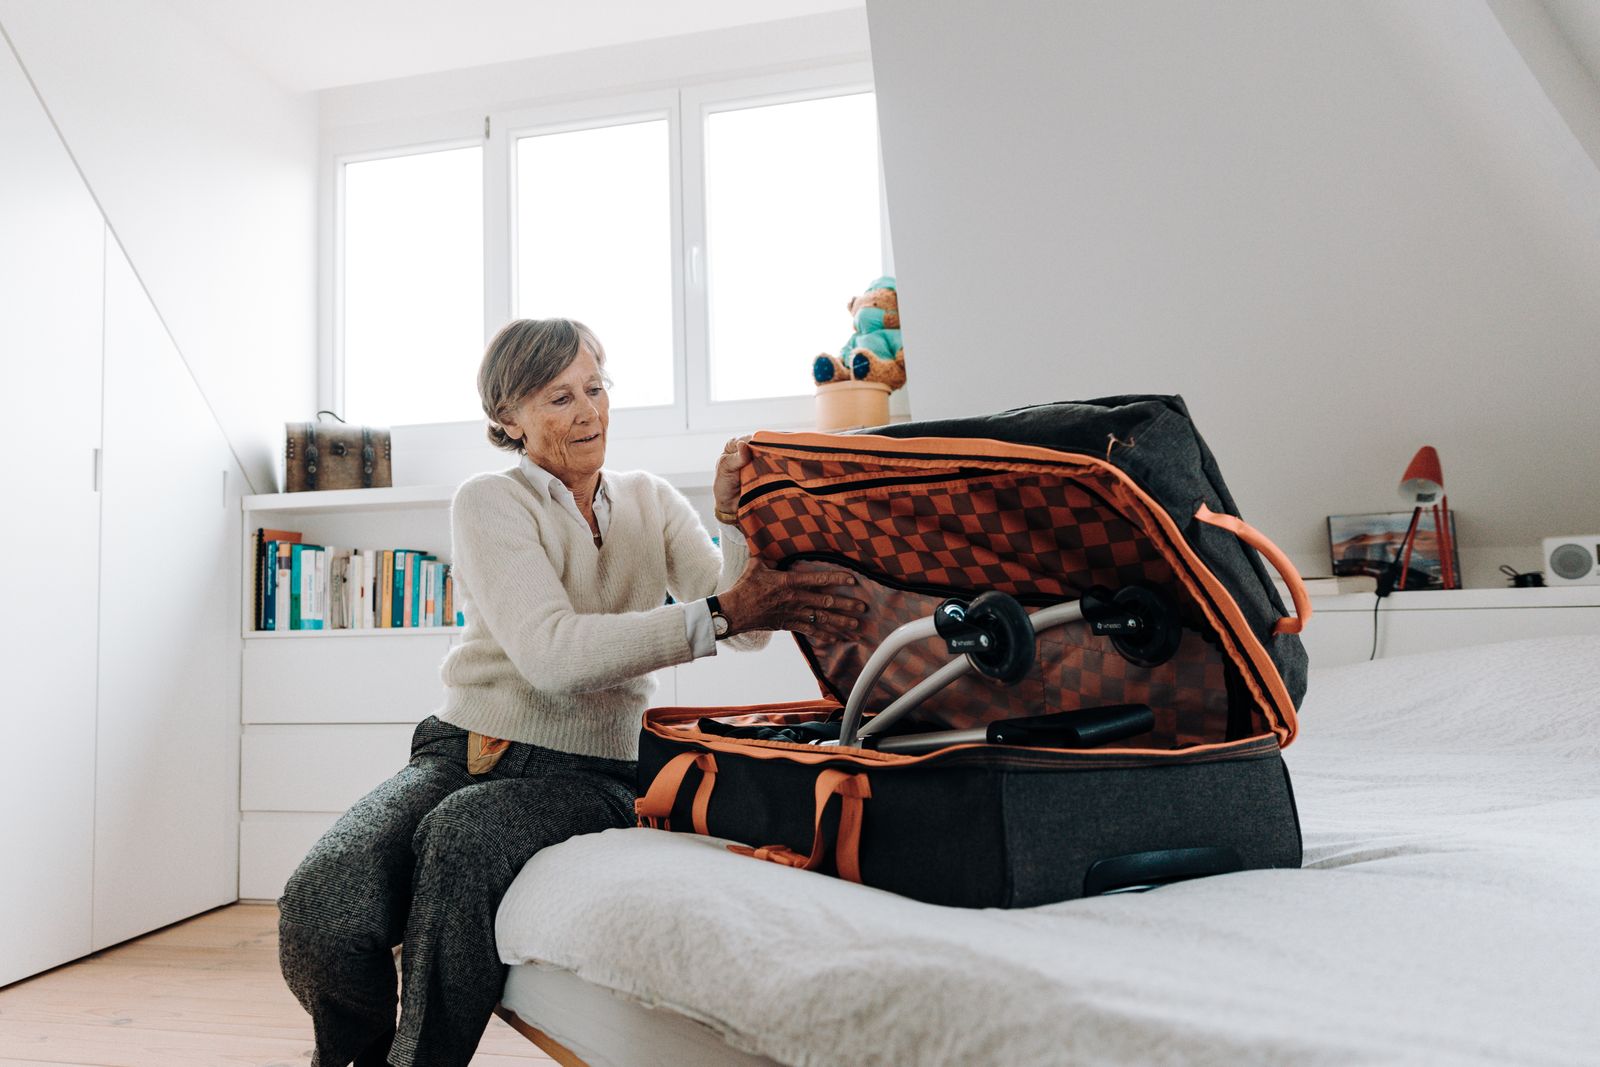
Photo by Wheeleo Walker on Pexels
| Failure Mode & Symptom | Mechanical Root Cause | Immediate Field Fix | Preventative Loading Strategy |
| --- | --- | --- | --- |
| Corner Zipper Track Strain & Separation | Volumetric tension pushing outward at 90-degree corner curves, causing high coil shear stress. | Pinch opposite fabric track lips together with thumb and forefinger to eliminate gap while pulling slider. | Place rounded soft compression cubes at top corners; avoid rigid tech pouches in upper perimeter zones. |
| Backward Rotational Torque & Shoulder Strain | Heavy items placed in outer lid pockets create a wide center-of-gravity moment arm pulling away from back. | Unzip clamshell 180 degrees and swap shoe/toiletries position with light jackets in the main tub. | Load high-density gear directly against the back panel (Spine Zone) and keep front door pockets under 1.5 inches deep. |
| Laptop Screen Pressure & Compartment Flex | Over-stuffing the main bucket causes internal wall expansion inward against the padded rear tech sleeve. | Loosen internal main compression straps slightly and flatten soft garments behind the laptop wall. | Maintain a flat clothing layer along the back panel wall to cushion and equalize point-pressure against laptop frame. |
| Mid-Section Bag Bulge & Carry-On Sizer Rejection | Unorganized loose gear pooling at the center tub bottom, expanding depth beyond 9 inches. | Re-pack clothing using structured rectangular packing cubes to constrain expansion to vertical plane. | Utilize modular 3-piece packing cube layouts to distribute volume horizontally across full 40L surface. |
Identify critical clamshell failure modes—from mechanical zipper stress to leverage-induced back strain—and apply field-tested corrective actions immediately.
Pre-Departure Clamshell Clearance Checklist
- [ ] Heavy gear (toiletries, extra shoes) packed along the bottom spine against the rear back panel.
- [ ] Outer front door pockets contain only flat, low-density items (jackets, documents).
- [ ] Laptop compartment closes freely without requiring pressing down on the screen frame.
- [ ] Split zipper track edges can be pulled together by hand with zero gap before sliding zipper pull.
- [ ] Overall pack depth measures under 9 inches to prevent airline carry-on sizer rejection.
Visualizing Clamshell Weight Distribution & Load Physics
Proper zone architecture prevents zipper strain and eliminates posture-destroying backward pull.
Load Re-Architecting Decision Tree
- Does the backpack depth exceed 9 inches when packed? → Yes: Are you using structured packing cubes inside the main tub?. No: Is zipper resistance isolated to corner curves?
- Are you using structured packing cubes inside the main tub? → Yes: Re-index cubes vertically; shift thick items away from front lid panel. No: Consolidate loose garments into a 3-piece compression cube system to lock depth
- Is zipper resistance isolated to corner curves? → Yes: Pinch track edges together manually while sliding pull; move hard edges away from perimeter. No: Pack geometry is balanced and fully carry-on compliant
Immediate Actions to Correct Your Packing Profile
Your decision: Determine whether your backpack failure mode is mechanical zipper overload or poor center-of-gravity balance.
Do this next: Execute the manual track-pinch technique, relocate shoes/tech to the rear harness panel, and verify pack depth using the pre-departure checklist.
- Read next: How to Stop Backpack Shoulder Strain When One-Bag Traveling
Jet Ready Bag (Lefame 40L) - featuring structured 180-degree wide-open geometry and included 3-piece packing cube system to guarantee precise weight distribution.
Take these concrete steps right now to adjust your bag architecture before leaving for the airport.
Essential Rules for Clamshell Packing Success
Keep these principles in mind every time you prepare for a short business trip or weekend getaway.
Side-by-Side: Overpacked Clamshell vs. Optimized Ergo Load
| Packing Metric | Unorganized / Overpacked Clamshell | Architected 40L Ergo Load (Jet Ready System) |
| --- | --- | --- |
| Zipper Track Shear Force | High (>25 lbs tension on corner curves) | Low (<5 lbs tension; tracks touch naturally) |
| Center of Gravity Distance | 6.5 inches from spine (creates leverage pull) | 2.2 inches from spine (transfers weight to hips) |
| Overall Pack Depth | 10.5 - 12.0 inches (risks gate-check forced fee) | 8.0 - 8.5 inches (fits overhead and under-seat) |
| Laptop Protection Level | Screen under inward flex pressure from main tub | Screen isolated in rear padded sleeve with neutral pressure |
| Airport Security Access Time | 3-5 minutes (digging through unorganized main tub) | Under 30 seconds (180-degree flat lay + dedicated tech access) |
Evaluate how loading strategy directly impacts zipper strain force, center of gravity offset, and airport compliance.
Gear Built to Prevent Clamshell Packing Strain
Upgrade your setup with hardware engineered to solve clamshell overpacking and zipper stress before you ever zip up.
Choosing the Right Adjustment Technique
Photo by Maël BALLAND on Pexels
When troubleshooting clamshell pack bulges, determine if the issue is volume overflow or poor density placement before offloading gear.
Best choice for
- Manual Track Pinch & Structural Re-indexing — Relieves mechanical stress on coil teeth while shifting dense cubes toward the lower spine zone.
- Vertical Mass Re-centering — Shifts shoes, tech chargers, and heavy items from the lid door panel directly against the harness panel.
- Forcing the zipper pull tab while outer track edges are separated by more than 0.5 inches.
- Packing thick bulky jackets in quick-access outer front pockets instead of main compartment compression cubes.
- Compression Cube Downsizing — Reduces garment volume by 25-30% without changing the underlying pack structure.
40L Packing Density Specs & Clearance Tolerances
| Specification / Parameter | Optimal Target Range | Maximum Safety Limit | Risk Signal / Failure Warning |
| --- | --- | --- |
| Total Bag Volume | 35 - 40 Liters | 40 Liters maximum | Main tub seams stretching white or visible coil gap |
| Pack Depth (Front to Back) | 7.5 - 8.5 Inches | 9.0 Inches (Carry-on limit) | Exceeds 9.0 inches; fails airport sizer box |
| Spine-Zone Mass Ratio | 60% - 70% total weight against rear wall | 80% maximum | <40% weight at back; causes severe backward tilt |
| Outer Lid Panel Depth | 0.5 - 1.5 Inches | 2.0 Inches maximum | Bulging outer cover pulling corner zippers tight |
| Laptop Sleeve Clearance | Fits up to 17-inch screen size | 17-inch screen + tablet | Deflection on rear harness panel when bag is zipped |
Reference these dimensional thresholds and load ratios to guarantee carry-on compliance and structural durability.
Step-by-Step Method to Relieve Zipper Tension and Rebalance Your Pack
Follow this 5-step re-architecting process whenever your clamshell backpack resists closing or feels heavy on your shoulders.
Step 1: Open 180 Degrees and Audit Outer Cover Volume
Unzip the main compartment completely and lay the bag flat on a table. Remove bulky non-flat items from the front cover lid pockets. Keep front door pockets restricted to flat layers such as light rain shells, passports, or documents.Step 2: Establish the Spine Zone (Zone 1)
Move your heaviest gear—shoes, toiletry kits, power bricks, and spare hardware—to the bottom of the main tub directly against the padded back panel. This positions the center of gravity as close as possible to your spine and hip suspension.Step 3: Insert Modular Compression Cubes (Zone 2)
Place structured clothing cubes into the middle tub space. Stack them flat rather than edge-wise to prevent mid-bag depth bulging. Ensure soft garments cushion the transition between your heavy gear and the laptop back panel.Step 4: Verify Tech Compartment Neutrality (Zone 4)
Slide your 17-inch laptop into the rear dedicated padded compartment. Close the tech zipper. Press gently on the laptop sleeve; if you feel hard bulging pushed from the main tub, rearrange the inner clothes to create a flat cushion plane.Step 5: Execute Manual Track Pinch Zipper Closure
Fold the front clamshell cover over the packed tub. Before sliding the zipper pull around the 90-degree corner curves, use your non-dominant hand to pinch the two track fabric edges firmly together. Slide the pull smoothly over the relaxed teeth without forcing.5 Clamshell Packing Mistakes That Cause Gear Strain & Discomfort
Avoid these breakdown scenarios to preserve zipper life and keep your trip comfortable.
Frequently Asked Questions
What is the short answer on Troubleshooting Clamshell Packing? Should you force a stubborn backpack zipper or remove gear when your clamshell pack bulges? Do not force the slider.
How do you choose between the options in Troubleshooting Clamshell Packing? To immediately resolve zipper strain and backward pull on a 40L clamshell backpack, manually pinch the track coils together ahead of the slider to relieve mechanical tension.
What should you do next? Should you force a stubborn backpack zipper or remove gear when your clamshell pack bulges?
Related Guides & One-Bag Optimization
Explore deeper technical topics on one-bag space optimization and travel efficiency:
- How to Pack a 40L Clamshell Backpack: Space Optimization for 7-Day Trips
- Maximizing Backpack Architecture: The Complete Guide to Packing Cubes in Clamshell Bags
- Clamshell vs. Top-Loading Backpacks: The Ultimate One-Bag Travel Comparison
- How to Stop Backpack Shoulder Strain When One-Bag Traveling
Final Checklist & Departure Preparation
Your decision: Determine whether your backpack failure mode is mechanical zipper overload or poor center-of-gravity balance.
Do this next: Execute the manual track-pinch technique, relocate shoes and heavy items to the rear harness panel, and verify pack depth using the pre-departure checklist.
- Read next: How to Stop Backpack Shoulder Strain When One-Bag Traveling
Jet Ready Bag (Lefame 40L) - featuring structured 180-degree wide-open geometry and included 3-piece packing cube system to guarantee precise weight distribution.
You are ready to step out the door with a perfectly balanced, stress-free pack profile. Apply the manual track pinch whenever closing your bag, keep heavy weight pinned against your spine, and enjoy smooth one-bag travel.
Cover photo by Wheeleo Walker on Pexels.